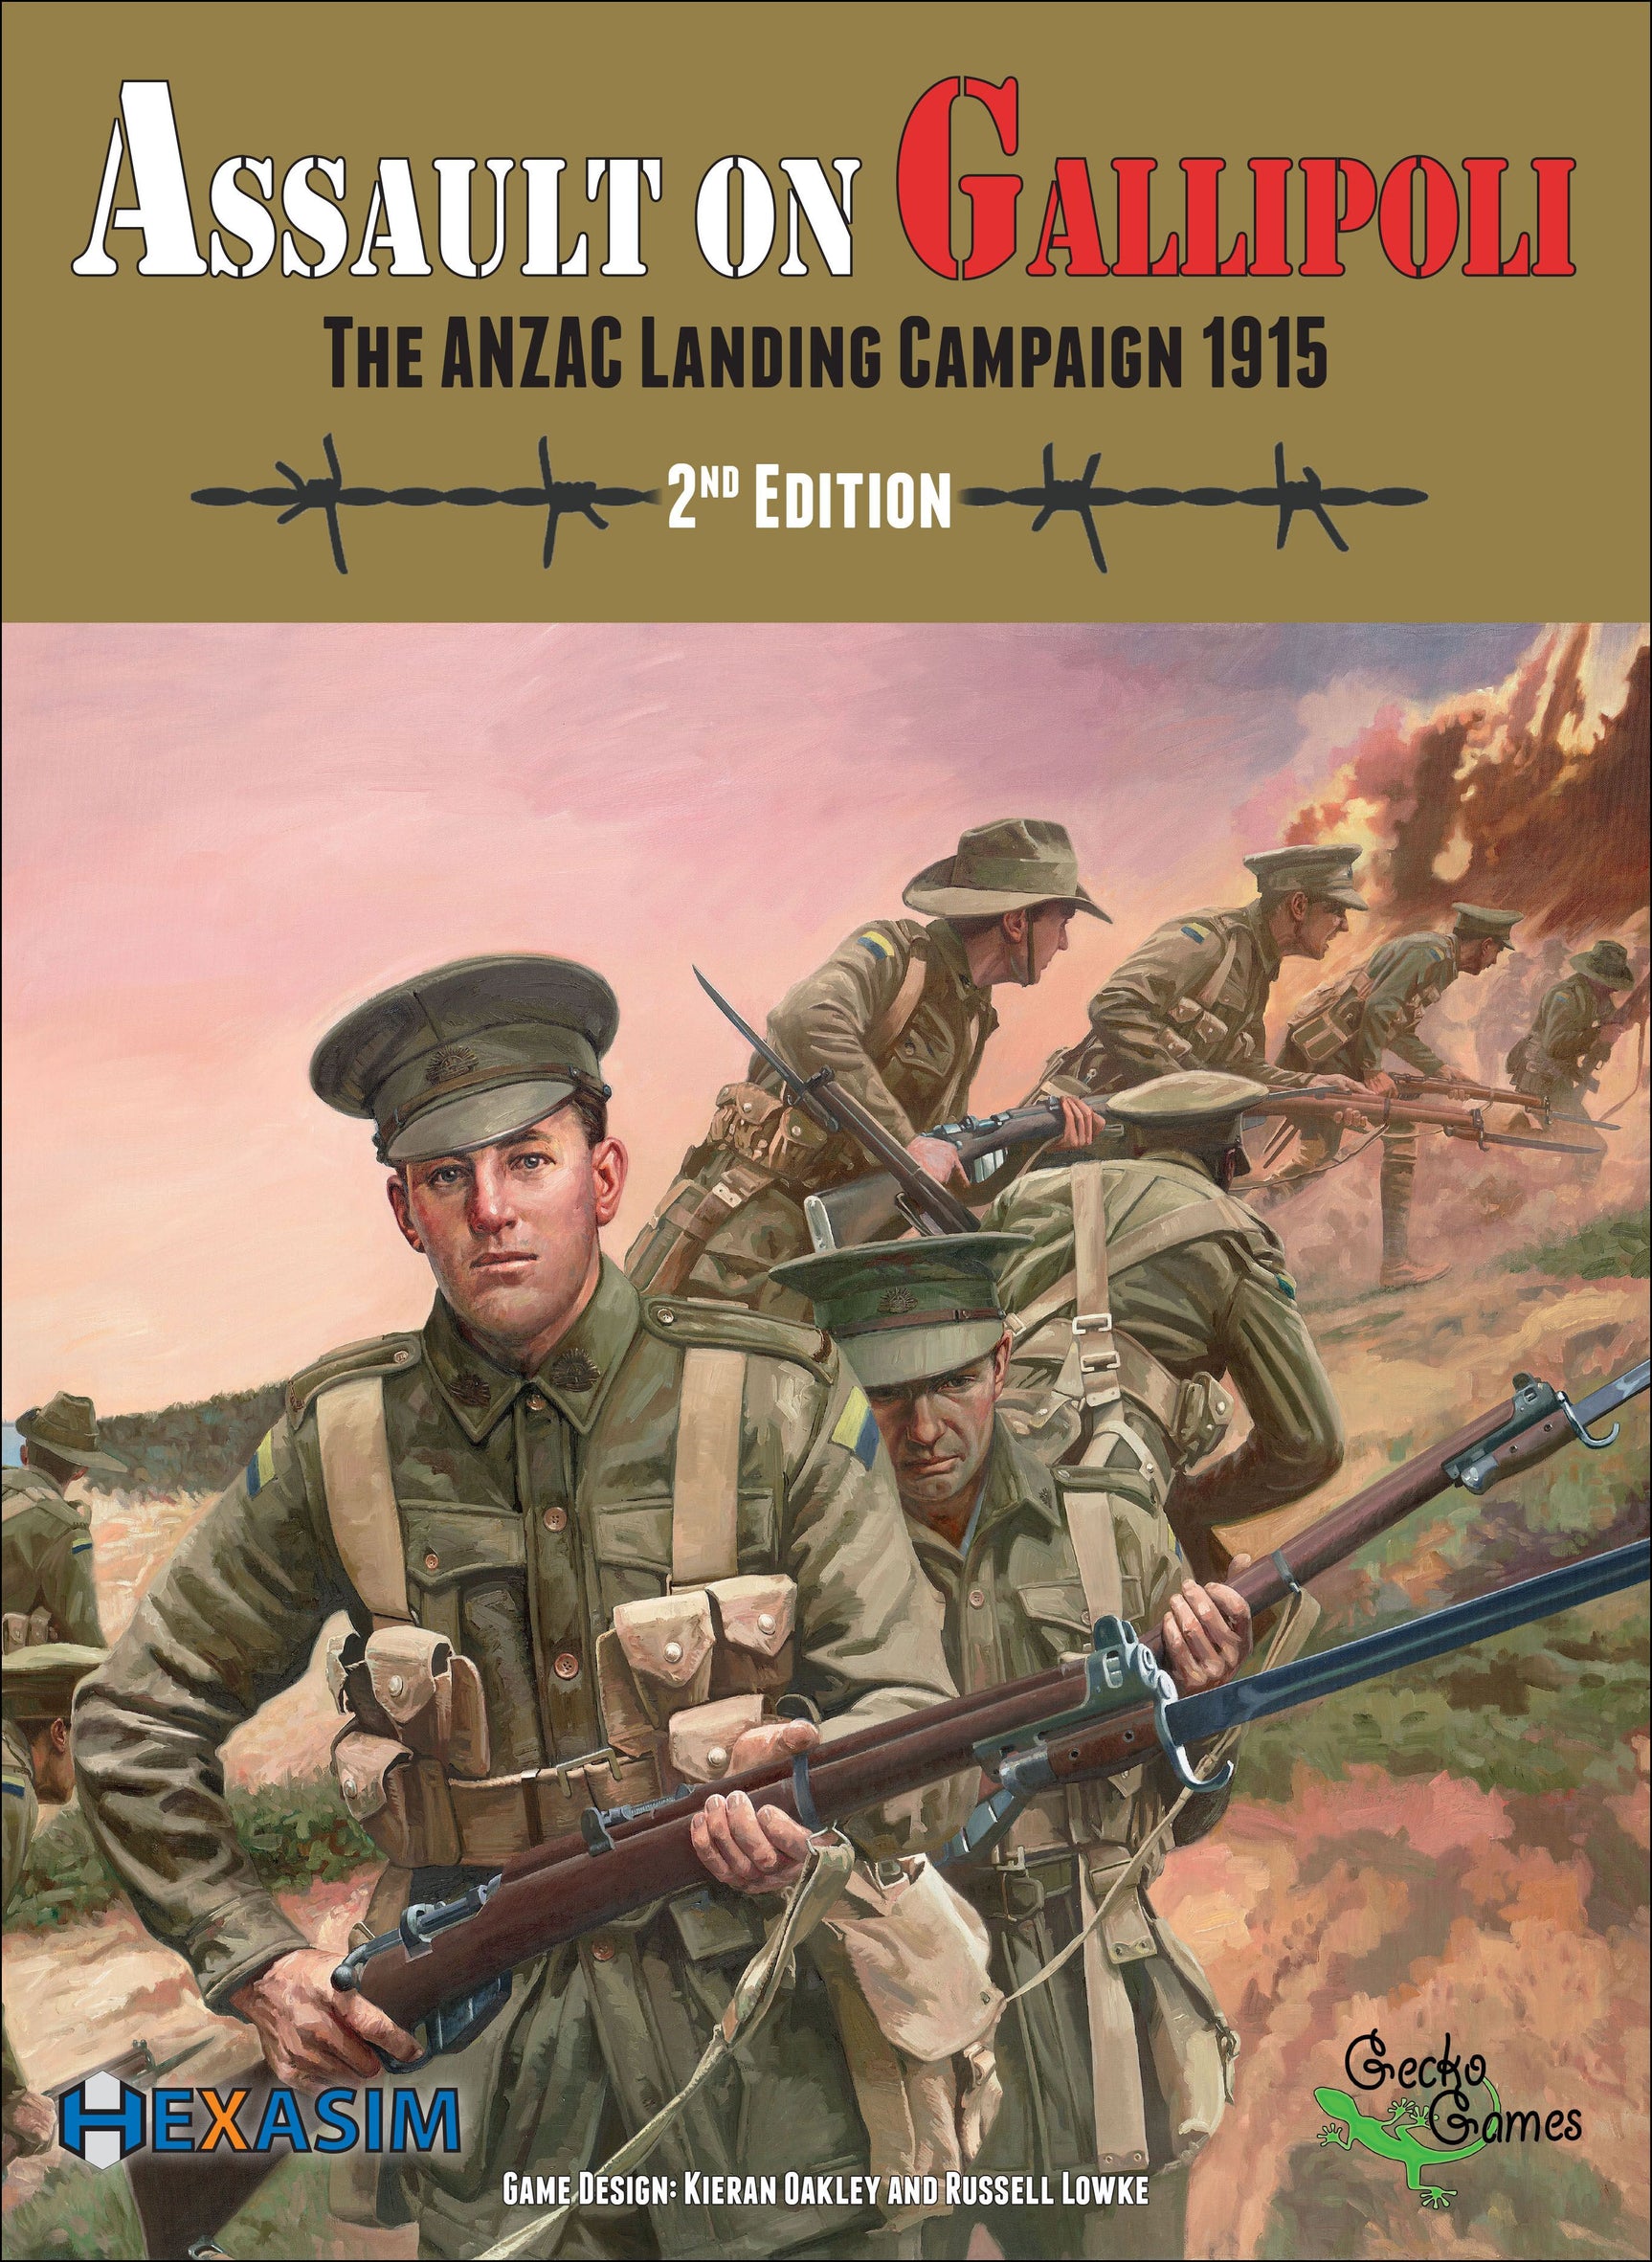
Assault on Gallipoli (Minor Damage)
Couldn't load pickup availability
Delivery and Shipping
Delivery and Shipping
For more details, please refer to our Shipping and Order Information.
Description
Description
| Designer |
Kieran Oakley Russell Lowke |
| Publisher | Gecko Games (II) |
| Players | 1-2 |
| Playtime | 120-300 mins |
| Suggested Age | 14 and up |
Assault on Gallipoli is a two-player strategic wargame that covers the key battles of the Gallipoli Campaign of 1915. The first edition of the game sold out in December 2022. A second edition was published by Hexasim in 2024.
One player controls the Australian, New Zealand and British forces (ANZAC player) while the other controls the Ottoman forces (Turkish player).
Each turn represents one day, units represent battalions, companies and individual ships. Players take it in turn activating groups of units in an area. Once they are activated to move, fire or dig a trench, the units are flipped over to their Exhausted side. At the beginning of each new turn they are flipped back to their Fresh side.
Game design by Kieran Oakley and Russell Lowke. Game art by Jose Ramon Faura. Rules editor and TableTop Simulator module by Rolf Grein.
HISTORICAL BACKGROUND
After months of stalemate on the Western Front, the British and French decided they would open a second front by attacking Germany’s ally – the Ottoman Empire. In March 1915 they sent a fleet of battleships through the Dardanelles in an effort to reach the Turkish capitol, Constantinople, and force the Ottoman government to surrender.
However, the Dardanelles were well defended by forts and sea mines and the Allied fleet suffered heavy losses. The naval campaign was abandoned until the forts could be captured by amphibious assault.
The game focuses on the Australian and New Zealand Army Corps (ANZAC) sector of the campaign; thus, it does not cover the British and French landings at Cape Helles or Suvla Bay.
The board presents one of the narrowest sections of the Gallipoli Peninsula, from ANZAC Cove to Mal Tepe and Khetia Bay. The ANZAC goal was to capture this area and cut off the Turkish forces fighting the British and French at Cape Helles further south.
The heights of Chunuk Bair and Mal Tepe were considered especially important because they provided observation of both sides of the Peninsula. From here the ANZACs could capture the forts which dominated the Narrows and thus allow the battleships of the Royal Navy to sail up to Constantinople. At least that is what was supposed to happen.
In fact, the British commanders had seriously under-estimated the Turkish resistance. The Turkish soldiers were veterans of the Balkan Wars, armed with modern, German-made rifles and artillery. Inspired by the leadership of Colonel Kemal and Lieutenant Colonel Sefik, they stopped the ANZACs in their tracks. The ANZACs only managed to establish a small beachhead, which was repeatedly counterattacked by the Turks.
In August 1915, the British and ANZACs made another attempt to seize the ridges of Sari Bair. The New Zealanders and Gurkhas managed to capture the heights for two days but were eventually overwhelmed by Turkish counterattacks. In December, after eight months of fighting, the ANZAC forces were evacuated.
In the words of Australian war correspondent, Charles Bean: “ANZAC stands for reckless valour in a good cause, for enterprise, resourcefulness, fidelity, comradeship and endurance that will never admit defeat.”
So what went wrong?
To quote the 'Gallipoli 1915' Facebook page: "At Gallipoli, inexperienced troops, led by untested commanders, supported by staffs that had yet to learn their jobs were sent with wholly inadequate artillery, ammunition and logistical support to perform one of the most challenging operations of war: an opposed landing on an enemy shore. Add in the nature of the terrain and we can begin to understand how it was that 4,000 Australians landing that early morning of 25th April 1915 were held up by a force that, initially, numbered only around 80 Turks."
Lest we forget.


